How I built my blog to achieve 100% on Google Lighthouse
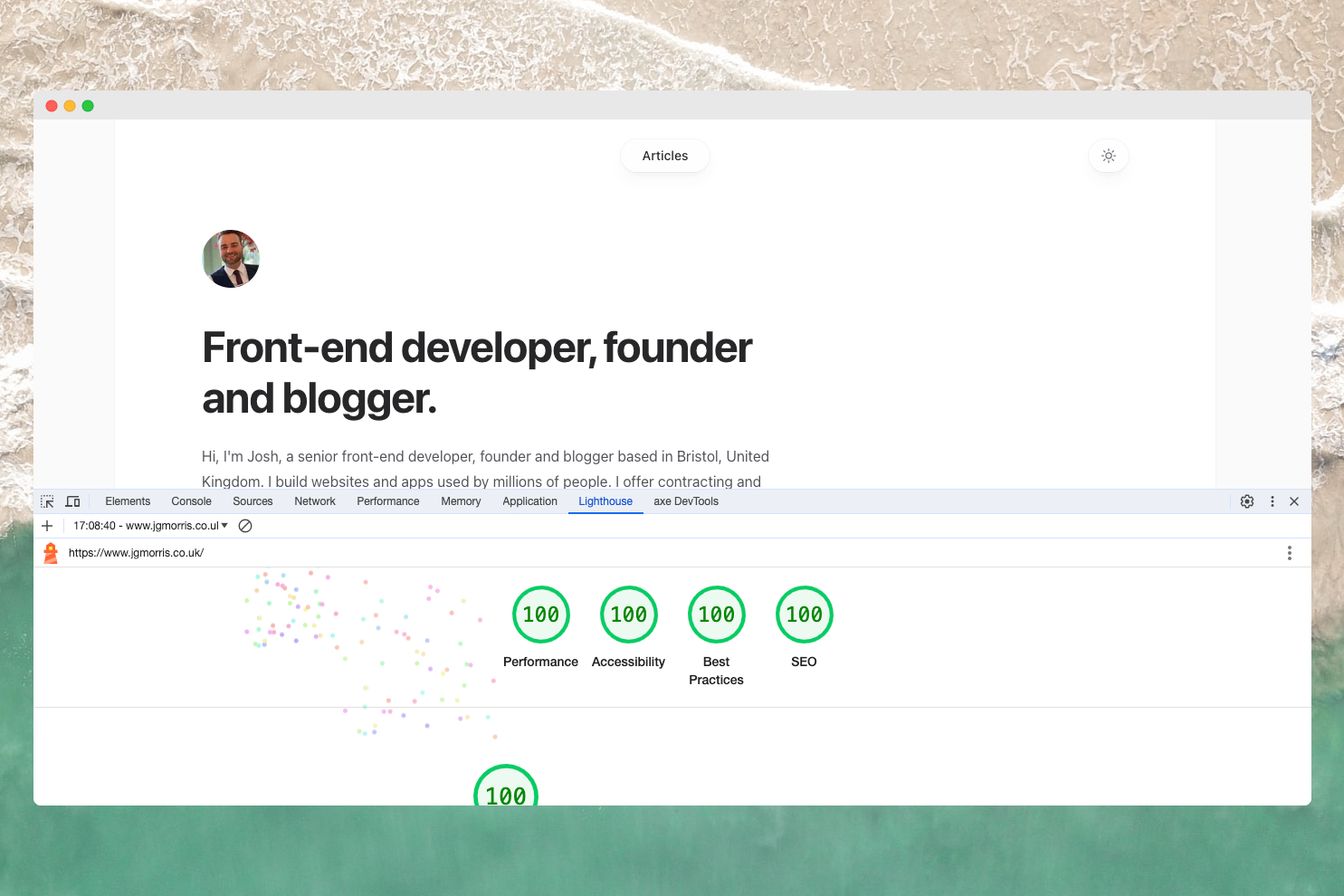
TLDR: My blog achieves 100% on Google Lighthouse scores. To achieve this, I built my blog using Nuxt Content and TailwindCSS, hosted with AWS Amplify, connected to a private GitHub repository, providing a Git-based workflow with continuous deployment.

Recently, I wrote an article explaining why I created a blog and the content I intend to write about. After deciding to make a blog, I needed to determine how to create my blog and choose a tech stack. The most natural choice for my blog would have been to use an existing blogging platform like Medium or WordPress. However, I looked for technologies that could reflect my skills as a developer but wouldn't lead to me getting bogged down with setting up a complicated architecture.
Content should always come first in any digital project. I wanted to give my content the best possible chance at being discovered, so search engine optimisation was a priority. I set myself a goal of achieving 100% scores across the board for Google Lighthouse.
Google Lighthouse is an open-source, automated tool for measuring the quality of web pages. Generally speaking, the higher your Google Lighthouse score, the better Google regards your website and ranks your pages higher. A few simple optimisations could significantly improve search engine optimisation and traffic to your site without any cost.

I knew it would be easier to achieve my performance goals if I used a front-end framework with an optimised build process. I find Vue a pleasure to work with; it is my front-end framework of choice. Further, where my role has involved upskilling others and helping them progress with their careers, I have often found that people find Vue easier to pick up than other JavaScript frameworks. Most Vue components are structured similarly to Vanilla HTML, so the learning curve is gentler.
Vue, on its own, is not a content management system. I wanted to focus on writing content, not connecting APIs and headless CMSs. With that in mind, I came across the fantastic Nuxt Content module. Nuxt is a VueJS framework with many helpful features, such as Server Side Rendering (SSR), which can be a pain to set up in vanilla Vue. Nuxt Content is an additional module for Nuxt that provides a "flat" file-based content management system with content written in markdown syntax, perfect for a simple blog.
For the styling, I chose TailwindCSS, a utility-based CSS library that has recently become all the rage, and it's easy to understand why. Tailwind includes standard "utility" classes for styling your website, such as "font-bold". The best part is that you "compile" Tailwind simultaneously with your Vue/Nuxt project, and your final stylesheets do not include unused utility classes. Styles are inlined onto each page in Nuxt, meaning that you only serve the CSS needed for each page, reducing unused CSS and boosting our Google Lighthouse performance score.

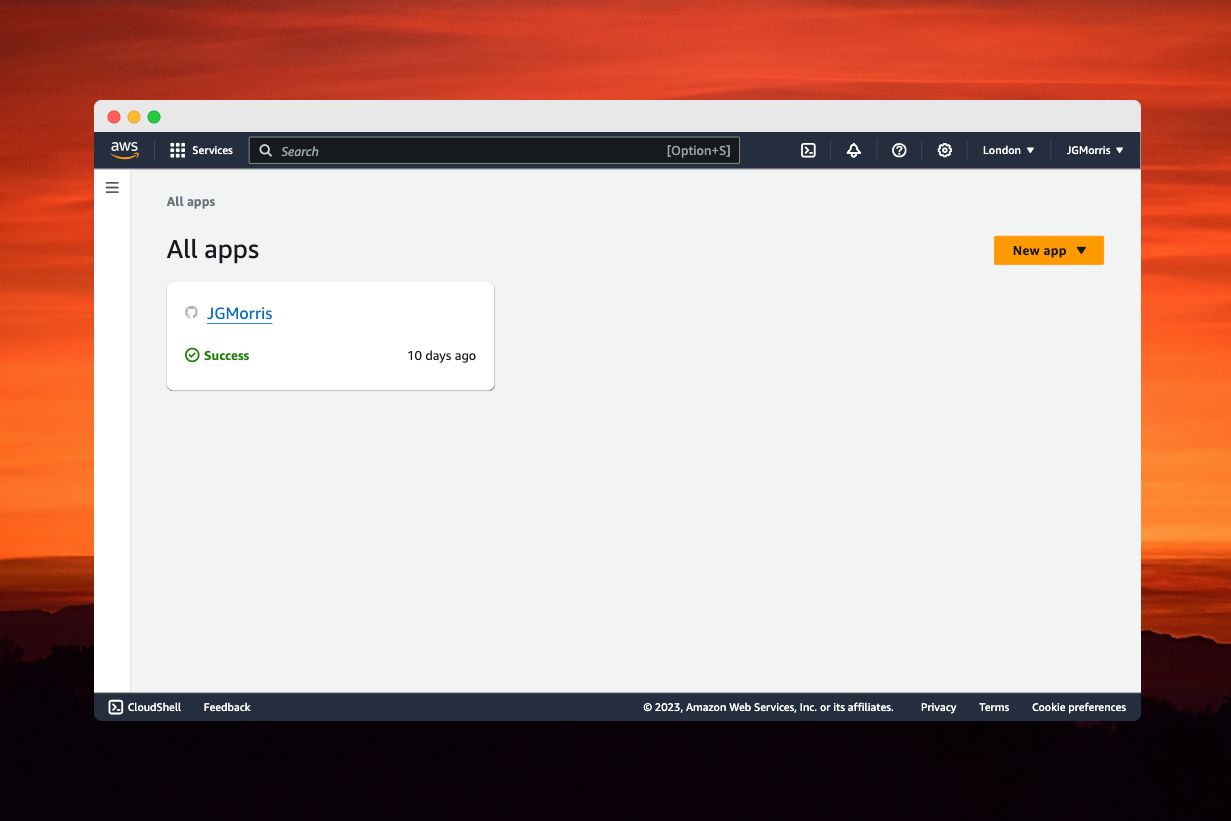
As I wanted my blog to reflect my technical skills and achieve 100% performance, I chose to host my blog on Amazon Web Services (AWS). I decided to use the AWS Amplify service, which lets you connect a repository, providing a continuous deployment pipeline. When you push changes to the repository, Amplify automatically rebuilds the site. Files are compiled statically and "hydrated" with server-side rendering, leading to low response times and high Google Lighthouse performance scores.
I recommend the Nuxt, Tailwind and AWS Amplify tech stack; it is a pleasure to work with, allowing you to focus on your content. Overall, I am pleased with the result. My blog reflects my skills as a front-end developer and achieves 100% Google Lighthouse scores.
If you want to boost your Google Lighthouse scores, sign up for emails and get notified when I publish my upcoming post, "How to achieve 100% on Google Lighthouse".
Stay up to date
Get regular round-ups, programming tips and exclusive announcements. Unsubscribe at any time.
What is a Design System?
Learn what a design system is, why should you use one, and how can it help you manage design at scale. A design system is a complete toolkit for managing design at scale, providing reusable "components" and "patterns" along with accompanying standards and governance.
Goodbye University of Bristol
After nearly three years at the University of Bristol and almost seven years in Higher Education, it is the right time in my career for a change. This blog post is to share some of the most significant projects I have worked on, alongside dedicated and passionate colleagues.
Time to give back? Why I started a blog.
Over the years, I have benefitted from the kindness of strangers who have taken the time to write articles and tutorials. I built my blog to give back to the community, documenting my thoughts and the solutions I have found in the hope it will help others.
